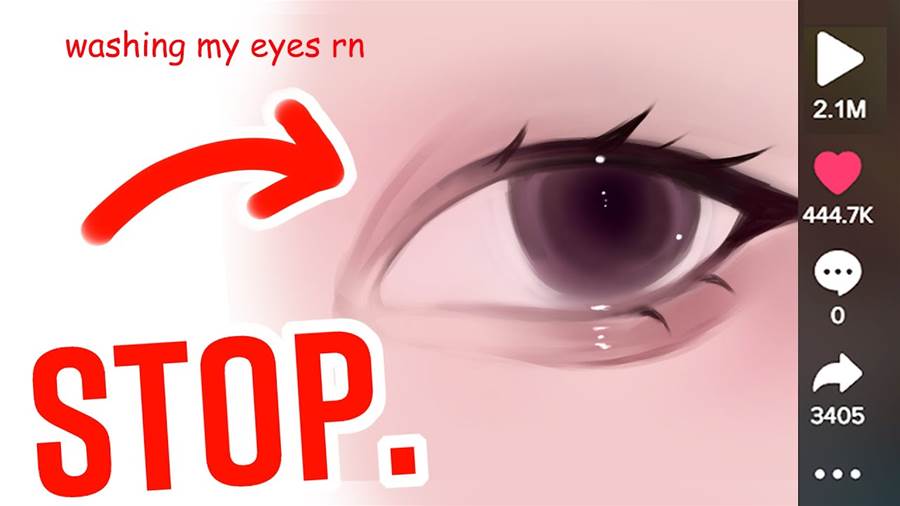
Drawing eyes and other facial features can be a challenging yet rewarding skill to master. In this guide, we’ll break down the process of creating expressive eyes, realistic eyebrows, and even hands, while tackling some common frustrations and tips to enhance your drawings.
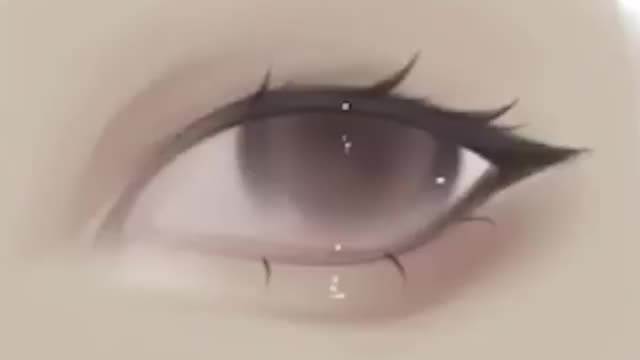
Drawing Realistic Eyes
Let’s start with the basics of drawing eyes. Begin by sketching the base shape, which is typically an almond. This shape will serve as the foundation for the eye.
Lashes: Lashes are crucial for adding detail.
Pupil and Iris: The pupil is the small dot at the center of the eye, while the iris is the colored part surrounding it. Make sure to differentiate between these two. A common mistake is confusing the iris with the pupil.
Blending and Shading: To create a more lifelike eye, blend the iris and eyelids using colors that complement each other. Start with a base color, then use an airbrush tool to blend the edges. Apply a red color to the eyelids to add a touch of realism.
Highlights: Highlights are essential for adding depth and making the eye look more realistic. Use a G-pen or any brush with a high opacity to add these highlights. They bring the eye to life and make it stand out.
Drawing Eyebrows
Eyebrows are another critical feature. To draw them correctly, you can use geometric methods to ensure they are proportional. Here’s a simple approach:
Guidelines: Start by drawing a triangle from the nose to the corner of the eye. This will help you place the eyebrow correctly.
Adjustments: Once you have the basic shape, erase the guidelines and refine the brow’s details. Ensure it complements the eye and overall face structure.
Drawing Hands
Hands can be one of the more challenging features to draw. A helpful method is the “bamboo method,” which breaks down the hand into manageable sections:
Basic Shapes: Start with basic shapes to outline the hand. Draw an upside-down triangle for the palm and add sections for each finger.Refinement: Draw lines to separate the fingers and add details like knuckles and nails.
Adjustments: Use references and practice different hand poses to improve your skills. Drawing hands in sections can simplify the process and help you understand their structure better.
Tips and Tricks
Experiment: Don’t be afraid to try different tools and techniques. For example, use a liquify tool to adjust line thickness or brush strokes for varying effects.Use References: Reference images can guide your drawing process, especially for complex features like hands or specific expressions.Practice: Drawing takes practice. Experiment with different styles and techniques to find what works best for you.
Conclusion
Drawing is a blend of technique and creativity. By following these steps and incorporating your own style, you can create compelling and realistic drawings. Remember, the key to mastering these skills is patience and practice. Keep experimenting and don’t get discouraged by initial challenges. Happy drawing!